indian gold has always held a prestigious place in the world of fine jewellery. Known for its purity, craftsmanship, and cultural significance, it transcends being just an adornment—it is a legacy passed down through generations. Whether it is weddings, festive celebrations, or personal milestones, gold jewellery has been a symbol of prosperity, status, and emotional connection in Indian tradition.
The uniqueness of Indian gold jewellery lies in its intricate artistry. From elaborate temple jewellery designs of South India to the regal Kundan and Polki styles of Rajasthan, every region contributes its heritage to the artistry of gold. These pieces are often handcrafted by skilled artisans, making each creation a true work of art. The designs blend heritage with modern trends, appealing to both traditional jewellery lovers and those seeking contemporary elegance.
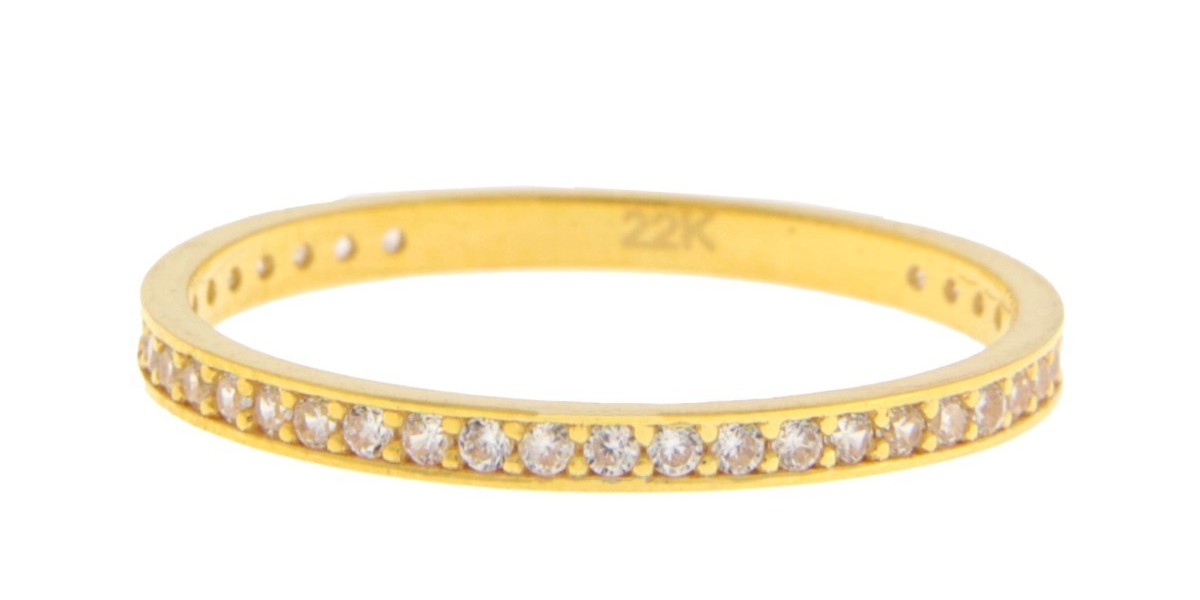
In today’s time, indian gold jewellery is not only valued for its cultural depth but also as a secure investment. With 22ct gold being one of the most preferred choices, buyers find assurance in both beauty and long-term financial worth. The versatility of Indian designs also ensures that pieces like bangles, necklaces, and earrings can be worn across occasions—be it a grand wedding or a casual family gathering.
At A1 Jewellers, we bring you a stunning collection of Indian gold jewellery that captures the essence of tradition while embracing modern elegance. Each design is carefully curated to meet the desires of today’s customers, blending heritage with style.
For more details and to explore these editions further, visit our website >>>> https://www.a1jewellers.com